Config Wizard
Navigation: Configuration > Config Wizard
The Config Wizard provides a guided, step-by-step process for the initial configuration of the IRF1000. It walks the operator through the most essential settings — from language selection and password assignment to network connectivity, time synchronization, and remote maintenance — in a logical sequence. The wizard is intended for first-time commissioning or after a factory reset. Experienced users who need to adjust individual parameters can skip the wizard and configure each setting directly on its dedicated page (e.g., IP configuration, Date & time, Forwarding).
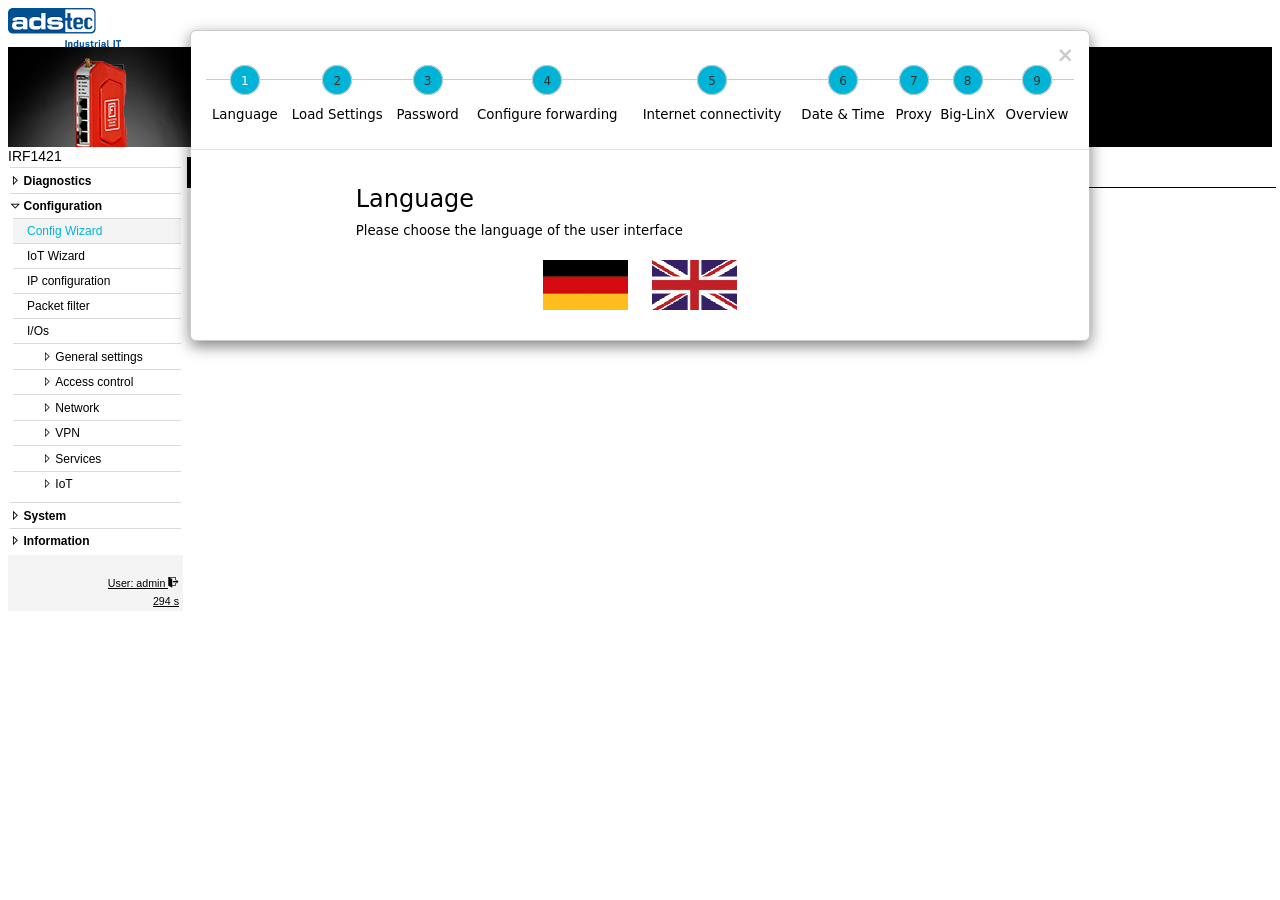
Steps
The wizard consists of nine sequential steps. Use the numbered navigation bar at the top of the dialog to move between steps. Each step can be completed independently; settings are applied collectively at the end of the wizard.
Step 1 — Language
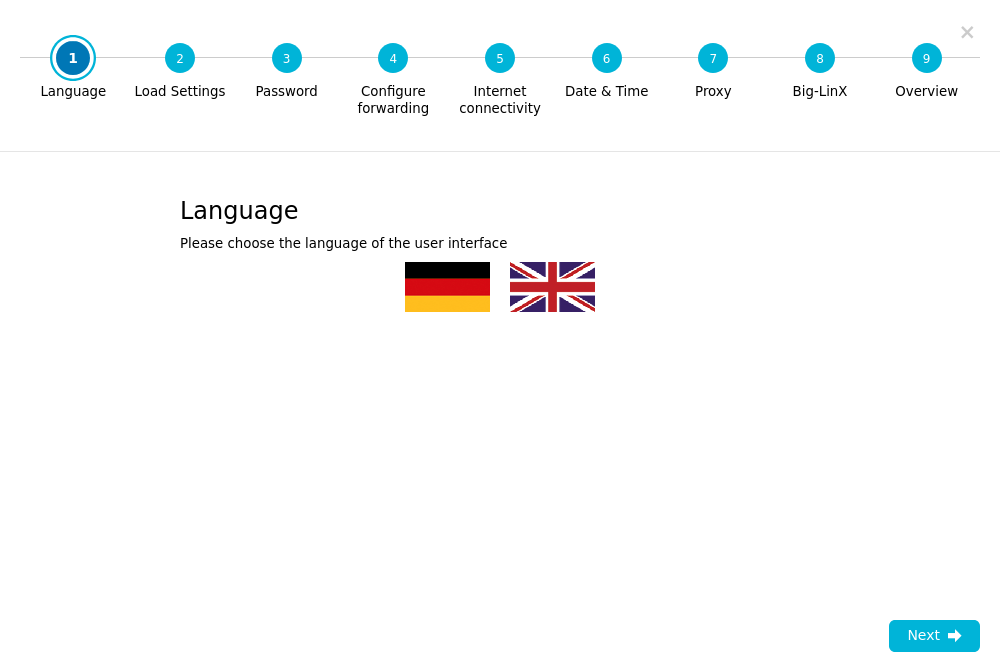
Select the language for the web interface. The available options are German and English. This setting affects all menus, labels, and tooltips throughout the web interface.
Step 2 — Load Settings
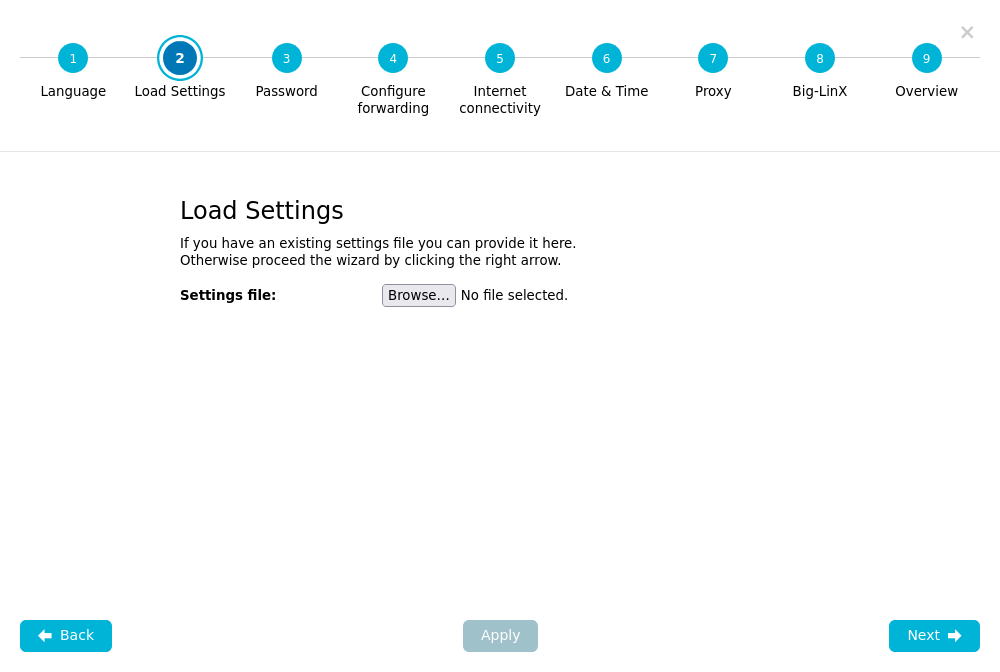
Load an existing configuration backup file onto the device. This is useful when commissioning multiple devices with a standardized configuration or when restoring a previously saved configuration. If no backup file is available, skip this step to continue with manual configuration. Configuration backups can be created and managed on the Backup settings page.
Step 3 — Password
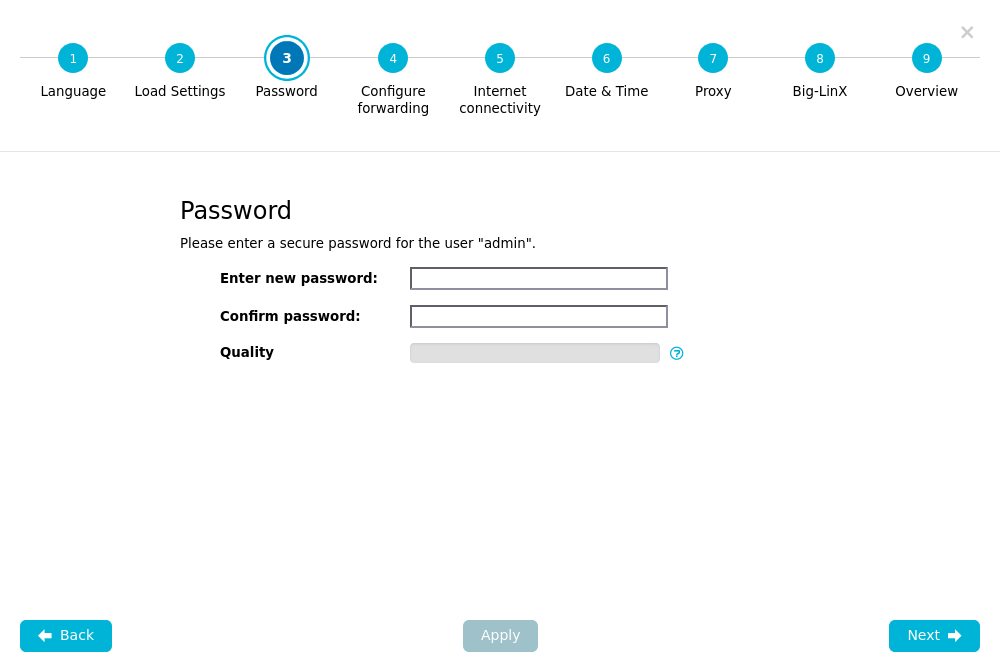
Set a new password for the administrator account. The default factory password must be changed before the device can be used in production.
Only high-quality passwords are accepted. Passwords are evaluated for overall strength and resistance to guessing, not by fixed character rules alone. Use a long, unique passphrase or a randomly generated password. Avoid names, dates, common words, keyboard patterns, and simple substitutions such as "Password1!". Password strength is checked with zxcvbn, the same estimation approach also used by KeePassXC.
ATTENTION
Always change the default password during initial commissioning. Using the factory default password in production environments poses a significant security risk.
Step 4 — Configure Forwarding
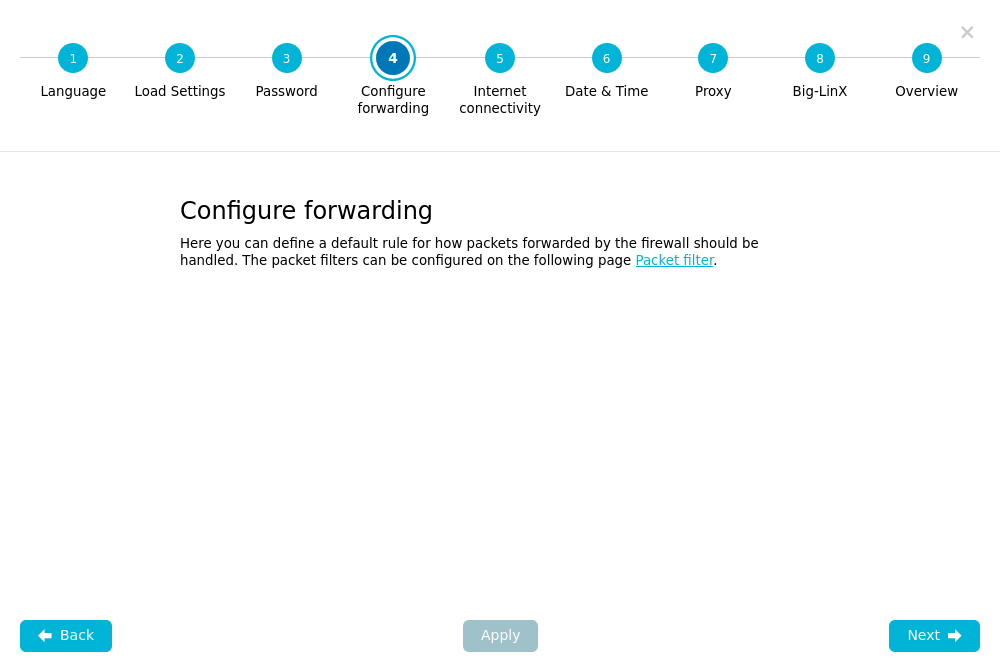
Configure port forwarding rules to allow external access to services on the LAN side of the device. This step provides a simplified interface for the most common forwarding scenarios. For advanced forwarding configurations, use the Forwarding page after completing the wizard.
Step 5 — Internet Connectivity
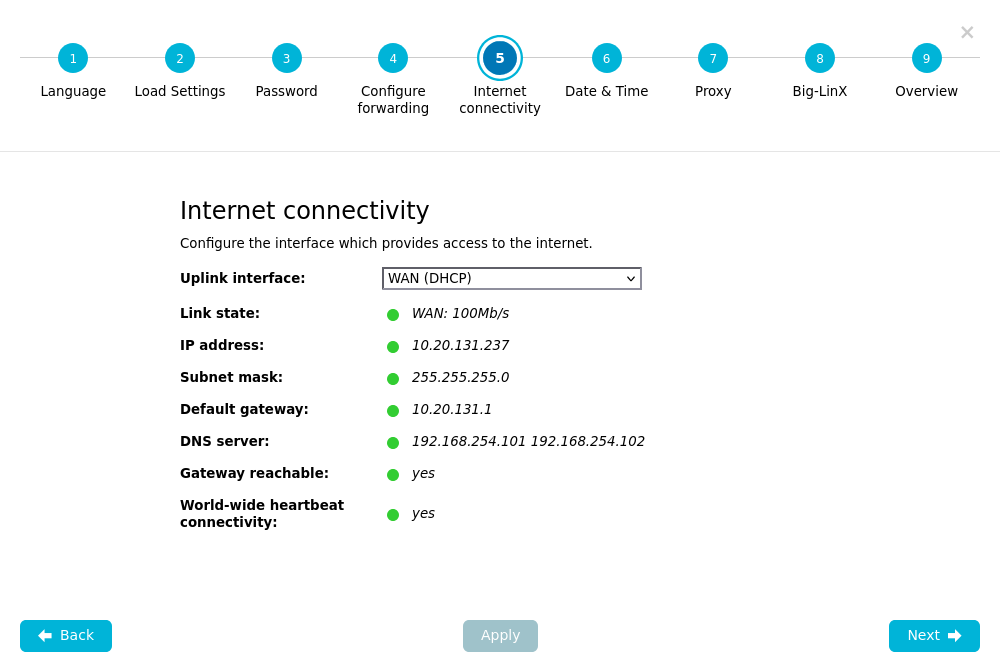
Configure the WAN interface settings for internet access. Depending on the connection type, enter the required IP address, subnet mask, gateway, and DNS server information. The available settings correspond to those on the IP configuration page.
WWAN (cellular) settings
Note
The WWAN (cellular) settings described in this section are only available on IRF1000 models equipped with an optional WWAN modem. These settings do not appear on devices without cellular hardware.
If the device is equipped with a WWAN modem, the following cellular connection parameters can be configured in this step:
- PIN
- The personal identification number for the inserted SIM card.
ATTENTION
After entering the PIN incorrectly three times, the SIM card is blocked until a PUK (Personal Unblocking Key) is entered to set a new PIN. If the PUK is entered incorrectly ten times, the SIM card is permanently blocked. The PUK is not stored on the device. Verify the PIN before applying the configuration.
- PUK
- The PUK or PUC (Personal Unblocking Key/Code) allows unblocking a SIM card and setting a new PIN after the PIN has been entered incorrectly three times.
- Provider APN
- The Access Point Name for the mobile provider's packet data service.
- Username
- Username for authentication with the APN (if required by the provider).
- Password
- Password for authentication with the APN (if required by the provider).
Step 6 — Date & Time
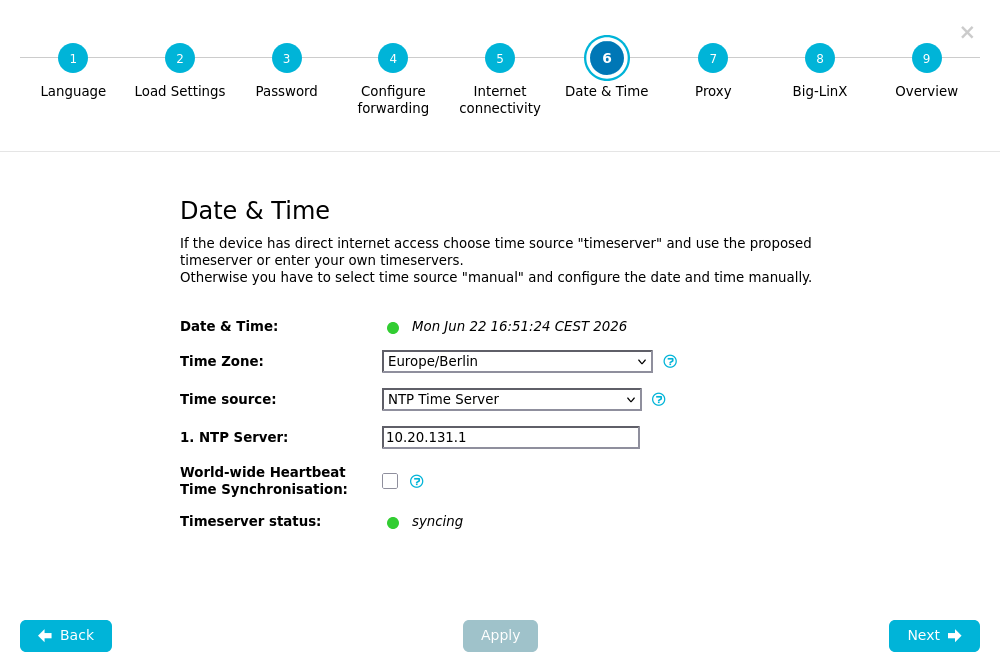
Configure the system clock and timezone. Accurate time settings are essential for log timestamps, certificate validation, and scheduled tasks.
- Timezone
- Select the appropriate timezone for the installation location. This setting applies to both manual date entry and NTP-synchronized time.
ATTENTION
After changing the timezone, it is recommended to restart the system.
- NTP service
- Via the Network Time Protocol (NTP), the local clock is synchronized to the clock of the first reachable NTP server. Alternatively, the date and time may be set manually. For detailed NTP server configuration, use the Date & time page.
Step 7 — Proxy
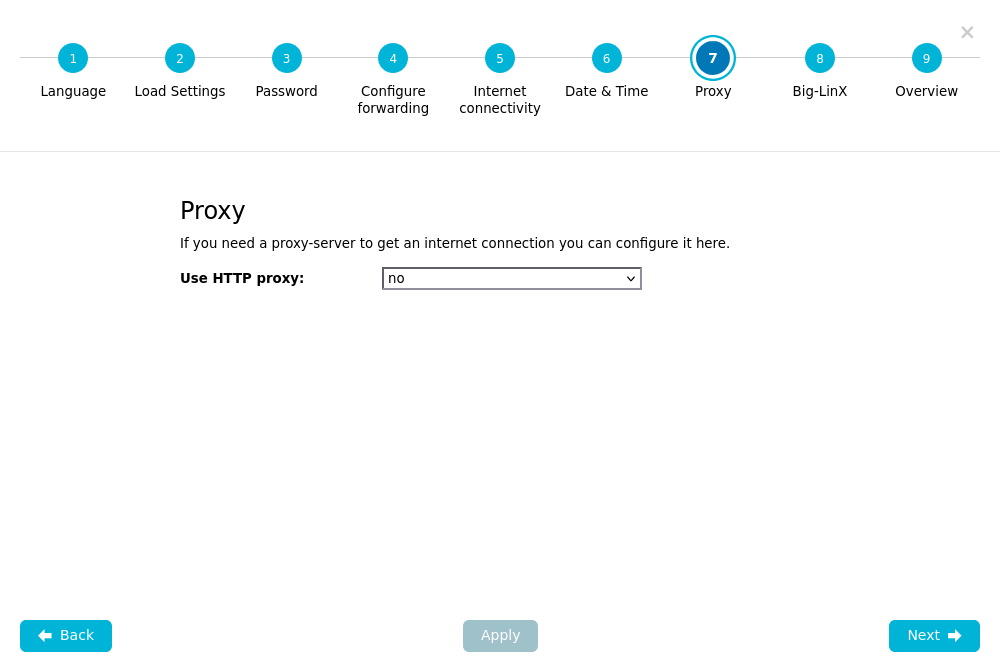
Configure HTTP proxy settings if internet access requires routing through a proxy server. This is common in corporate networks where direct internet access is restricted. For detailed proxy configuration, use the HTTP Proxy page.
Step 8 — Big-LinX
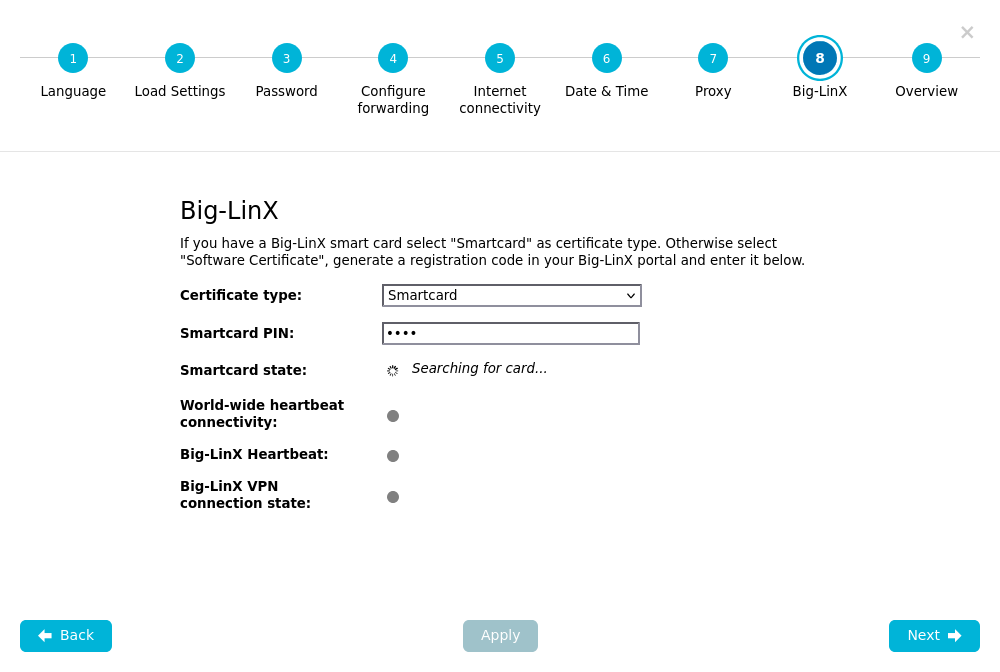
Configure the connection to the Big-LinX remote maintenance platform. Big-LinX enables secure remote access to the device and the connected LAN network via an encrypted VPN tunnel. For detailed Big-LinX configuration, use the Big-LinX page.
- Synchronize time via Big-LinX
- When enabled, the local time is automatically synchronized with the Big-LinX server time if it differs by more than 60 seconds. This provides an alternative time source when NTP servers are not reachable.
Step 9 — Overview
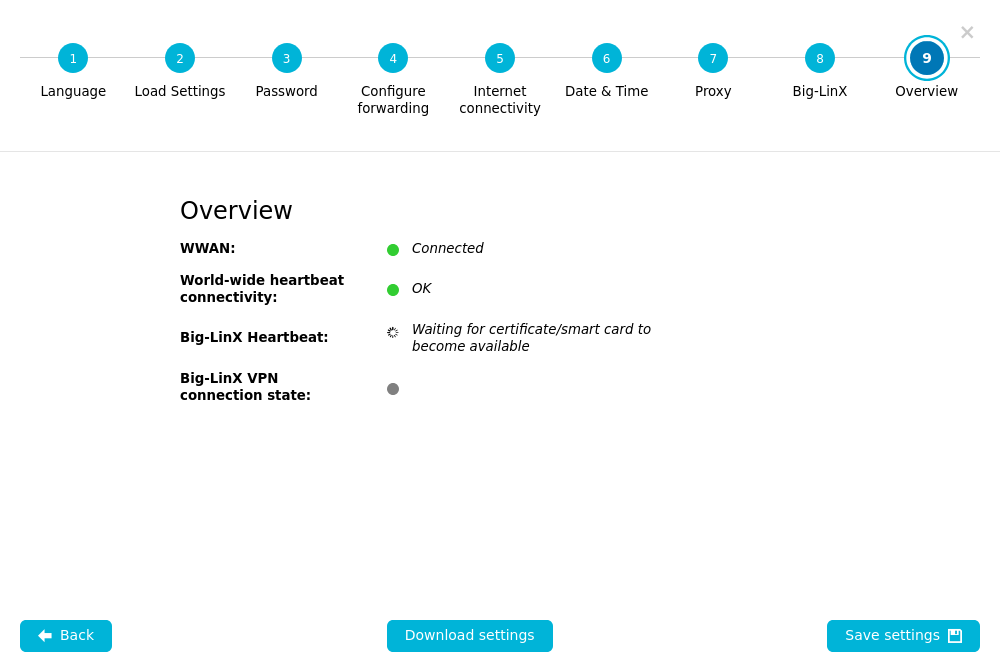
Displays a summary of all settings configured in the preceding steps. Review the configuration carefully before applying. After confirmation, the settings are written to the device. To make the configuration persistent across reboots, save it via the Save page.